How to Check PDF Size and Bleed Before Printing
Check finished size, declared bleed and PDF page boxes before printing. Follow an A4 example and learn what a geometry check cannot approve.
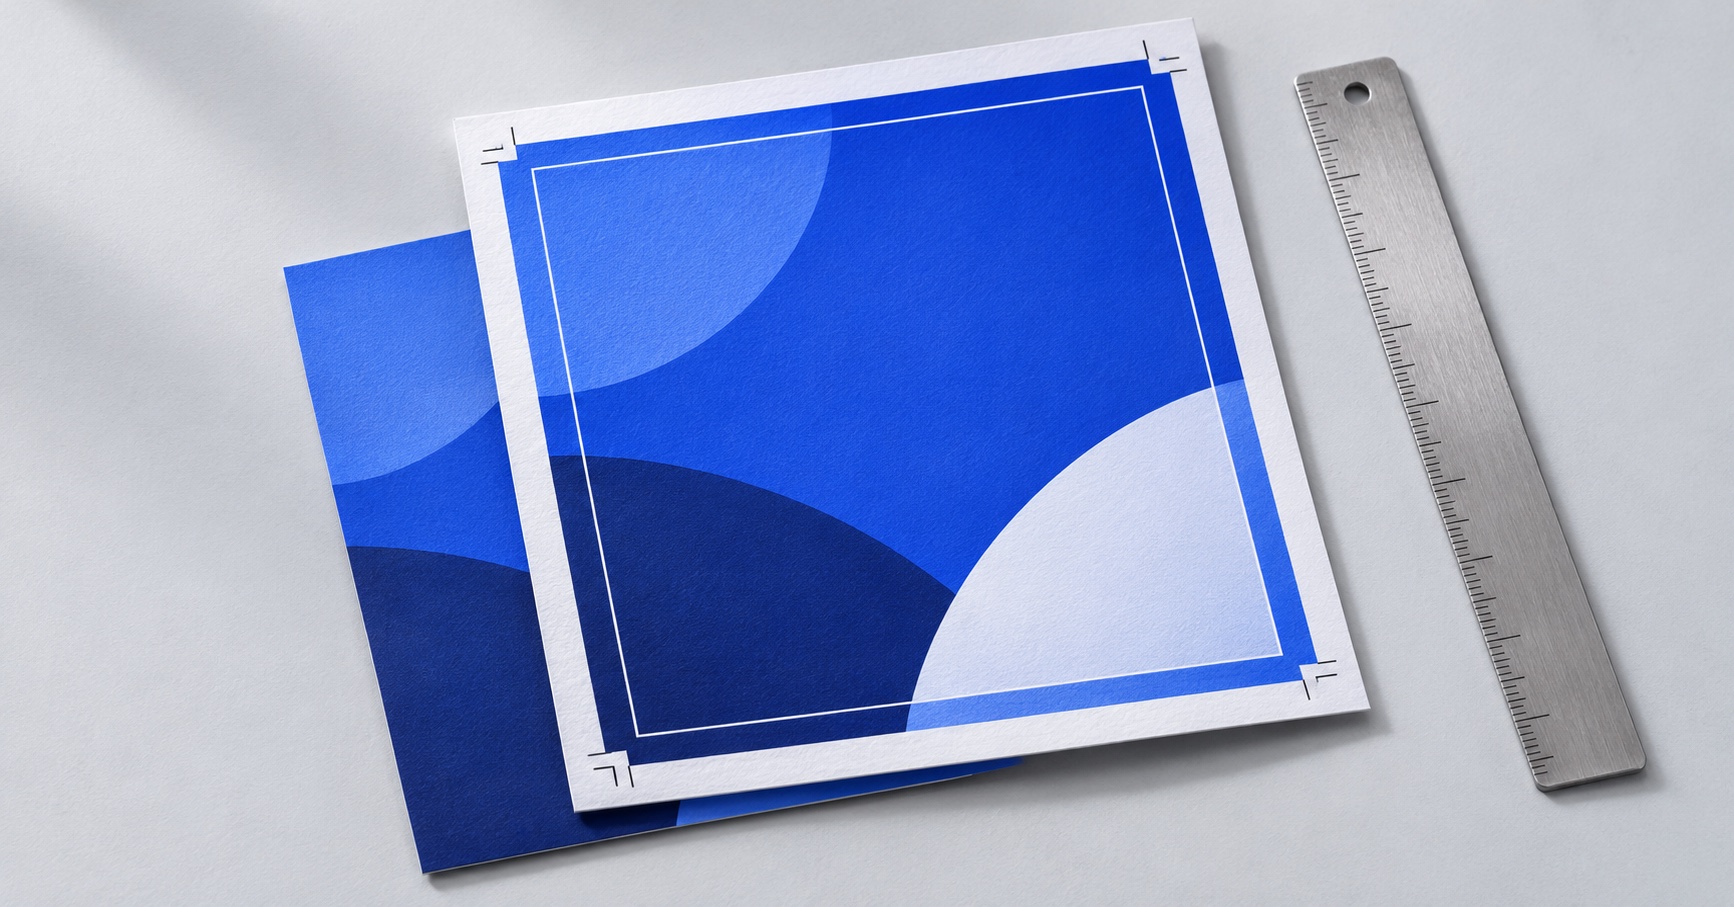
A PDF can look correct on screen and still have the wrong finished size or too little declared bleed. Before a file reaches the print queue, compare it with the specification for that particular job.
Start with three things: the finished width and height, the required bleed on each edge, and a separate visual review of the artwork. A geometry check helps with the measurements. Your print team still decides whether the artwork is suitable for production.
1. Get the job specification first
Ask the print provider for the finished size, bleed requirement and any rules about orientation, marks or export settings. Do not assume that a file called “A4 flyer” contains the right measurements.
For the worked example in this guide, the shop requests:
- Finished size: 210 × 297 mm.
- Bleed: at least 3 mm on every edge.
- Orientation: width and height must not swap.
These are example job settings, not a rule for every printer or product. Use the values your print provider gives you.
2. Separate finished size from overall page size
A PDF can declare several page boundaries. The TrimBox describes the intended size after trimming. The BleedBox describes the area extending beyond that trim. The CropBox controls the visible or printable area, so the page you see on screen is not necessarily a complete description of the job. Adobe explains these page boxes in its Acrobat guide.
For our A4 example, the trim should measure 210 × 297 mm. If the declared bleed is exactly 3 mm on all four sides, the rectangle covering trim plus bleed measures 216 × 303 mm: add 6 mm to each dimension.
That calculation does not mean every correctly prepared A4 PDF must report an overall page size of 216 × 303 mm. Its outer page can also contain marks or other space. Check the declared trim and each bleed edge instead of relying only on the viewer’s overall page-size display.
3. Check all four bleed edges
A single “3 mm bleed” label can hide an uneven result. Inspect the left, right, top and bottom measurements separately.
Suppose the trim matches A4, but the PDF declares 2 mm on the left and 3 mm on the other three edges. The finished size matches; the bleed requirement does not. A useful correction request says exactly that:
Page 1: the left edge declares 2 mm of bleed. This job requires at least 3 mm on every edge. Please correct the source artwork and export a new PDF.
Avoid a vague request to “make the PDF bigger.” Scaling the page can also change the intended finished dimensions. The correction should preserve the requested trim while supplying the required bleed.
4. Check that artwork actually reaches the bleed
Declared boxes and usable artwork are different checks. A PDF may declare sufficient bleed while the background or image stops at the trim edge. A page can also have matching boxes and contain blank artwork.
Review the design visually. If a background is meant to reach a cut edge, check its continuation beyond that edge. Keep important content within the safe area specified by your printer. The safe area is a separate design requirement; it is not established by a matching TrimBox or BleedBox.
Print Intake compares declared page geometry. It does not inspect artwork coverage, image resolution, fonts, color suitability or PDF/X compliance. A matching result must still go through staff review.
5. Export the corrected file from its design source
When a correction is needed, return to the original layout rather than only changing the PDF’s box labels. Update the document’s bleed and extend the relevant artwork into that area.
In InDesign, review the document’s bleed settings, export using Adobe PDF (Print), and include the document bleed in the export. Use the PDF preset and printer’s marks requested by your print provider. Adobe’s print-bleed tutorial shows the setup and export steps.
Bleed settings, compression and color output are separate export controls. A geometry result does not validate the other export choices. Adobe documents those PDF export options separately.
Open the newly exported PDF and run the check again. Keep the revised file identifiable so the print team does not accidentally use the earlier version.
Run a geometry check in Print Intake
Open the free PDF checker, enter your shop’s finished size and required bleed, choose the PDF, and confirm that these are the actual job specifications.
The checker processes the PDF in your browser. The current file limits are 10 MiB and 32 pages. Initial setup needs an internet connection to download the analyzer. Encrypted files need an unlocked export before they can be checked.
Read the result in context:
- Geometry matches: the declared measurements match this specification. Staff review is still required.
- Needs correction: review the measured differences and ask for a corrected export.
- Needs review: some measurements could not be established or the file is outside the supported check. Do not treat missing measurements as approval.
With a workspace account, checks save the file name, specification and findings for your team. The PDF itself is not uploaded. See an illustrative correction report before trying your own file.
A short intake checklist
Before sending the job onward, confirm the requested finished size, the measured trim, bleed on every edge, and the correct file revision. Then have staff review the artwork and the print provider’s remaining requirements.
For answers about supported files, reports and saved-check limits, see the FAQ. When you are ready, check a PDF against your own shop’s specification.